Through out the year, we have been assigned different types of projects to complete. As students it was our jobs to understand the conventions of each project, and use our skillset to make the best pieced material we can.
The first project was a simple one. We got tasked with making a 1 minute self portrait piece about us. The set requirements were anything other than copyrighted music and no dialogue. This meant that I was making a very visually orientated piece, that still gave simple and concise information about me as an individual. The only down side with the visuals was that none of it was complex, or challenging. They were simoke shots.
After finding suitable music, I already knew that the only ways to reach any information to my audience were with visual storytelling techniques or on-screen text. So to ensure that my points were getting across, I selected shots that represented my life best at the time (I.e. the sleeping because I was known for my unusual sleep pattern.) Then to reinforce, I used on-screen text just incase the visuals were not enough. This point feeds into other projects later on. The editing style was simple, I used synchronous techniques, it kept the project energetic and predictable (which is large doses is bad, due to it becoming tedious but the piece was only a minute long in duration.)
The project wasn't perfect. Peers, when asked for feedback, said that the computer shot was slightly under exposed and was overhauled with digital noise due to the ISO sensitivity having to be boosted higher. I agree, this shot was by far the weakest, but I felt like, even with the digital noise, the shot served a big enough purpose to be implemented. The way to get round this would be to use lights for internal environments, but as the year went on, I shot in external conditions anyway.
Project 2 was a fun one to do. It was completely centralized around visuals. The set task was a black and white silent short film with the set duration of 2 minutes. For this, I created an easy story ark to follow (Homeless man finds an unlocked car, and a wallet. He gets caught by the owner, the homeless guy is immediately sorry and the Owner is sympathetic. Happy ending.) I wanted to completely focus on using visual storytelling techniques to guide the story, so there's no subtitles on this, unlike the self-portrait. Nor is there music either. Using simple techniques, such as Match on action, use of slight ellipse to eradicate useless pieces of movement (such as the Homeless guy walking all the way from the heater to the car which would be a minute in itself) which enabled me to fit a concise and visually filled project into 2 minutes.
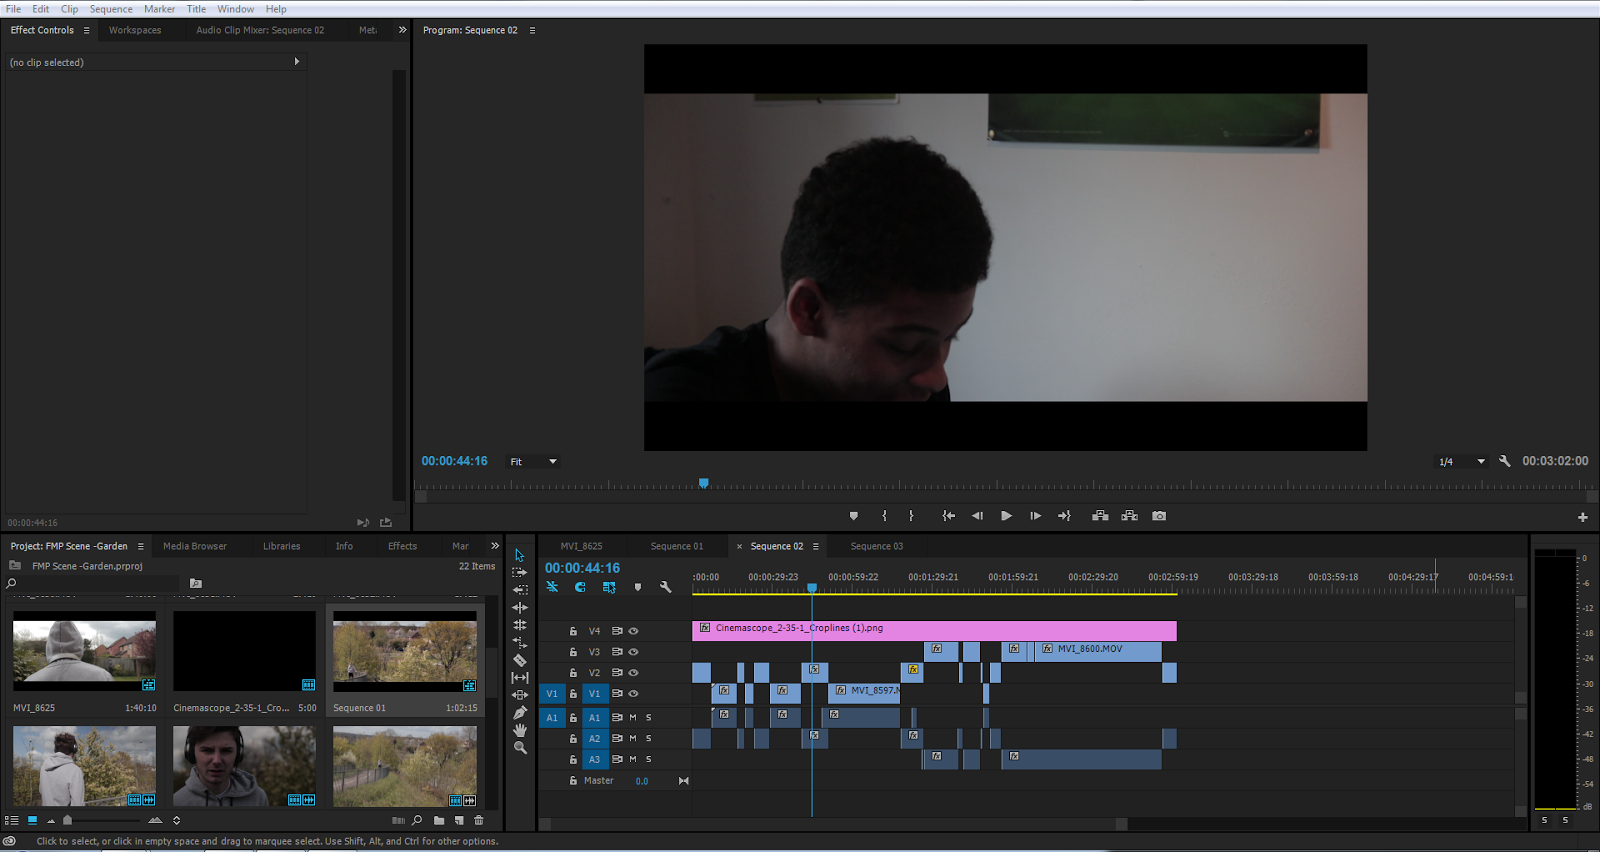
One thing I felt that I improved on, was that the piece felt "seamless" between the cuts in the editing. This is something that I've been working towards for a long time, and takes practice to do so. Half the reason this was achievable for me was because the editing was so easy to do. There was so much flexibility, using a blend of static and dynamic camera techniques enabled me to set pacing in the edit easily, allowing another technique (that weren't sound driven) to guide the story and how the characters are feeling. The only thing that was somewhat challenging was getting the pacing in the cuts from each shot right whilst ensuring the audience doesn't get too disorientated.
The main thing that I and the class felt I could improve on, was the depth of the narrative itself. It was easy, worked well and everything went the way I intended it too. This feedback came into good use for my final individual project. But depth is difficult to achieve with a 1 minute duration, so I focused on other areas.
First piece of group work was the "The Colour Purple". The groups got given a scene centralized around a topic. Friendship was ours.. Tommy wrote the screenplay, and I took control of the visual direction of the story. The first shot was a wide angle shot which was held for more than half the actual short itself. This was a stylised choice of mine in editing. The shot I thought was satisfying to look at and there was no real need to cut to any other shot. No one mentioned anything negative about the duration of the shot. Only until the actual drama of the dialogue pushed in, was the moment I cut into the close up of the Main character as his friend walked off. I then used the technique of "shot reverse shot" which is typically used for a conversation in any film or medium. Spanning from Film, to TV to some Music videos (if there's a conversation present).
The biggest and most obvious issue with this piece (other than the very last shot which was heavily underexposed) was the sound. This was the biggest issue people fed back to us as a group. The sound was inconsistent, and the microphone caught too much ambience from the park around us. A good way to progress from this would be to simply refine the sound recorder's settings and simply ensure that the microphone is closer to the actor's mouth. Then after, record separate assets for the sound design later. For example, capturing individual ambience from (birds, cards, slight wind, etc) and then an individual sound clip dedicate to the fountain. This way none of the sounds conflict too much.
The final project of the year was an individual short film capped at the duration of 5 minutes. There was no restrictions, it could be any genre, with or without dialogue. No creative limits, with the exception of duration. This short film I wanted to try and stray away from static camera techniques as the Group project was shot almost completely static. Instead, I wanted to focus on dynamic camera movements and how they can emphasis emotion in a shot. For example, when the main character gets the phone call and they mention a package being delivered, the camera snaps to the front door and the camera slowly zooms in towards it. This is a simple dynamic and adds tension to the shot and the piece. I wanted to use the lessons that I've learnt with visual storytelling from the precious projects and combine that with the simple use of story through dialogue.
Again the only disappointment was the sound. I captured Foley for each movement and object touched in the short (because of what I learnt from the sound from the Colour Purple), and individual ambience for the rooms but the hiss was unbearable meaning that I had to turn down the volume making the short very quiet (which was the main issue for everyone in the class and became the footnote for the feedback given. So from now on, I'm going to find a Sound person, who can record sound and do the sound design also. That way I can concentrate on other things whilst shooting, with the intentions to shift some focus into lighting to enhance future visuals and ensure digital noise is a worry of the past.
In conclusion, the feedback throughout the year was fairly consistent. It centered around sound with the rare comment about narrative depth and shot exposure. The progress that I've made with being able to tell a story using visual techniques is clear and I am happy with that, hoping that next year I will be able to continue to make the same amount of progress, if not, more. This, along with the progress of editing and use of dialogue, will help me direct viewers through a story easier than this time last year.